Building an Orthomosaic from Raw Drone Photos: A Step-by-Step Guide
Understanding the raw material
Before you start stitching images together, you need good raw imagery. A raw drone photo is the unprocessed file straight from the camera sensor. It holds more data than a compressed JPEG, especially in shadows and highlights. This extra data matters when you later align and blend dozens or hundreds of images into a single orthomosaic.
Raw files are large. A typical flight over a 10-hectare field might produce 200 to 400 images, each around 20 to 40 MB. That adds up quickly. Make sure your storage and processing computer can handle the load. A solid-state drive and at least 16 GB of RAM are a practical starting point. The software you choose will also need to manage these files without choking.
Step 1: Check your flight data before you import
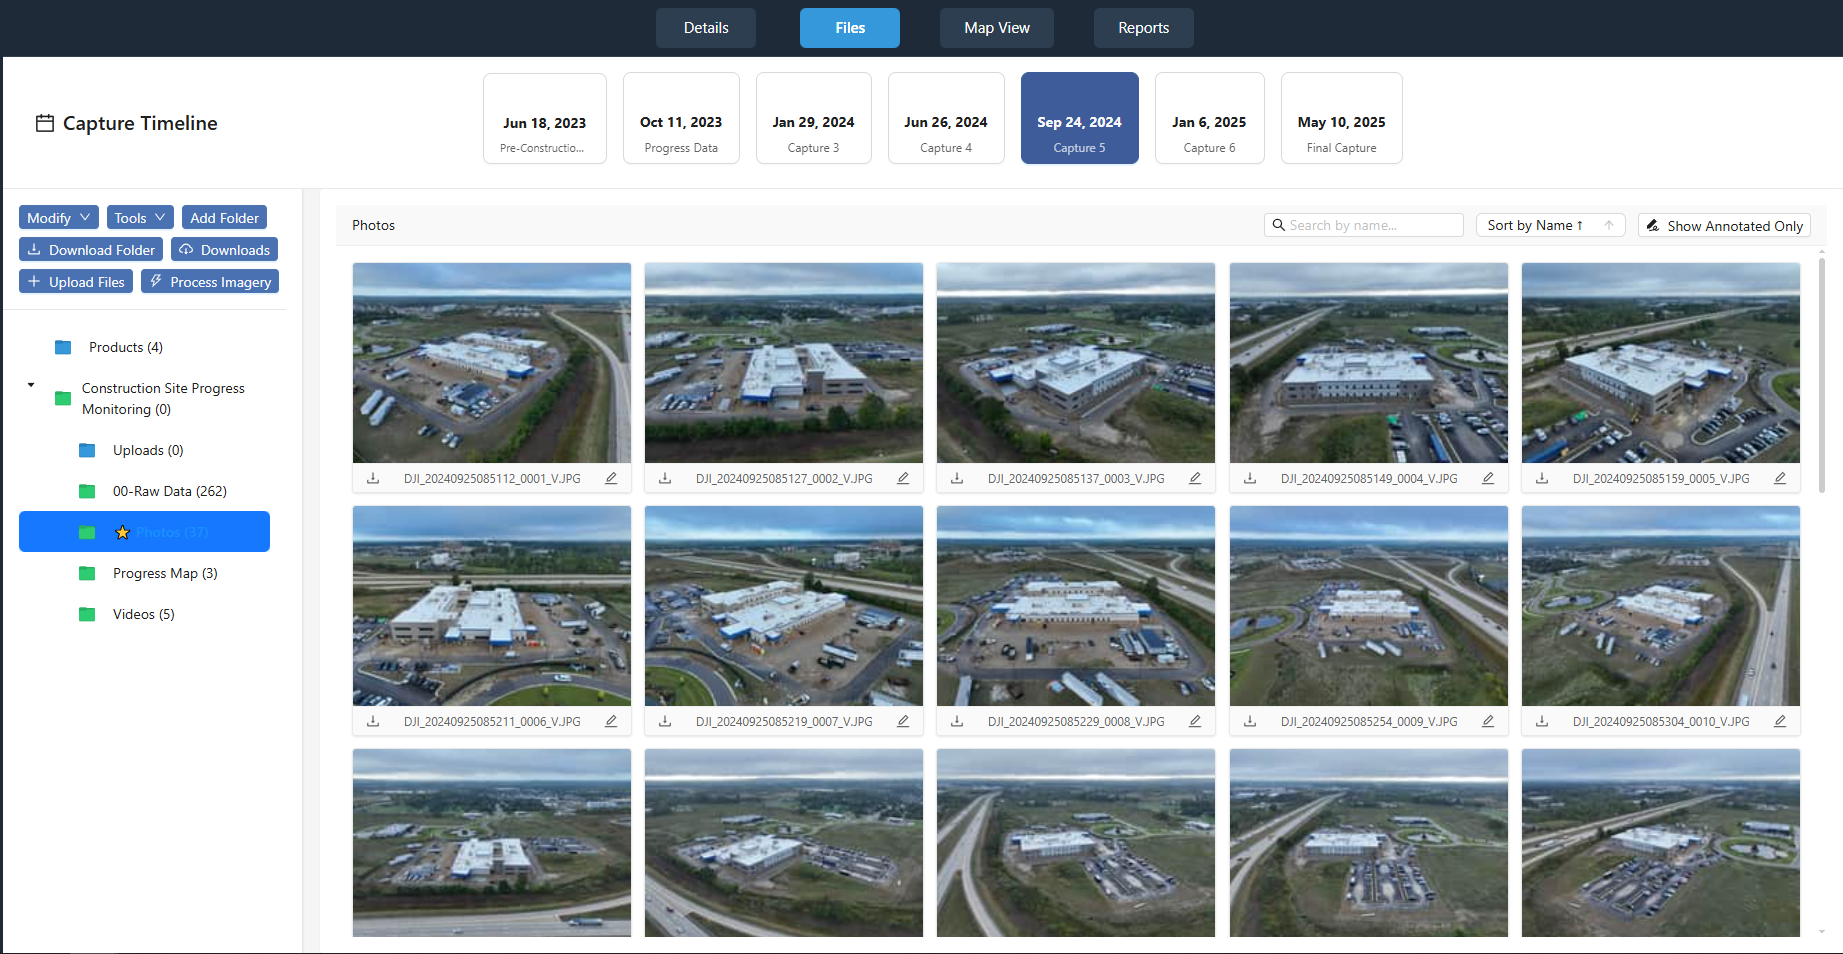
Not every raw photo will be usable. Blurry shots from a sudden gust of wind, images taken during a fast turn, or frames where the camera was pointed at the sky instead of the ground need to be culled. A quick visual scan of the thumbnails can save you hours of processing time later.
Also check the overlap between images. For a solid orthomosaic, you typically want at least 70 percent forward overlap and 60 percent side overlap. If your flight plan had gaps, you will see them as holes or stretching in the final mosaic. If the overlap is too low, you may need to re-fly the area. Do not skip this check. It is the most common reason for a failed reconstruction.
Step 2: Import and organise your photos
Most photogrammetry software expects a folder of images with their geotags intact. Keep the original file names or use a clear naming convention. Do not rename files during import unless the software does it automatically. The geotags embedded in the EXIF data contain the drone's GPS position, altitude, and camera settings. These values are critical for the next steps.
If your drone does not record GPS data or you flew without a proper flight plan, you can still create an orthomosaic by manually placing control points, but it is much slower and less accurate. For large areas, automated georeferencing is the only practical method.
Step 3: Align the images and generate a sparse point cloud
This is where photogrammetry begins. The software looks for common features in overlapping images and calculates the relative position of each camera at the moment of capture. The result is a sparse point cloud a set of 3D points that represent the ground and objects on it.
This point cloud is not the final product, but it serves as the skeleton for the orthomosaic. The quality of this step depends on the texture in your images. Grass fields with few distinct features can be tricky. If the software struggles to find tie points, you may need to add manually identified ground control points (GCPs) using survey markers or visible features with known coordinates.
Step 4: Optimise the point cloud and check the coordinate system
Once the sparse point cloud is generated, you can refine it. Most software lets you filter out points with high uncertainty. Removing these improves the accuracy of the later steps. A drone point cloud from this stage typically has a ground sampling distance (GSD) close to the original photo resolution, but the vertical accuracy depends on the camera's baseline and the overlap.
At this point, you need to set the correct coordinate system. If your data will be used alongside GIS layers, use a projected coordinate system like UTM or a state plane. If you are only making a visual mosaic for a client, a geographic coordinate system (lat/lon) may be enough. Misaligned coordinate systems are a common source of errors in the final orthomosaic.
Step 5: Build the dense point cloud and the digital surface model
From the sparse point cloud, the software creates a dense point cloud by matching every pixel across multiple images. This dense set of points forms a digital surface model (DSM) that shows the height of the ground, vegetation, and structures. The DSM is used to orthorectify the images remove the distortion caused by the camera angle and the terrain.
Watch for artifacts in the DSM. Trees, buildings, and tall grass can create spikes or holes. If your area has many tall objects, consider using a digital terrain model (DTM) instead, which filters out above-ground features. Some software can generate a DTM automatically, but for best results, you may need to classify points manually.
Step 6: Orthorectify and blend the images
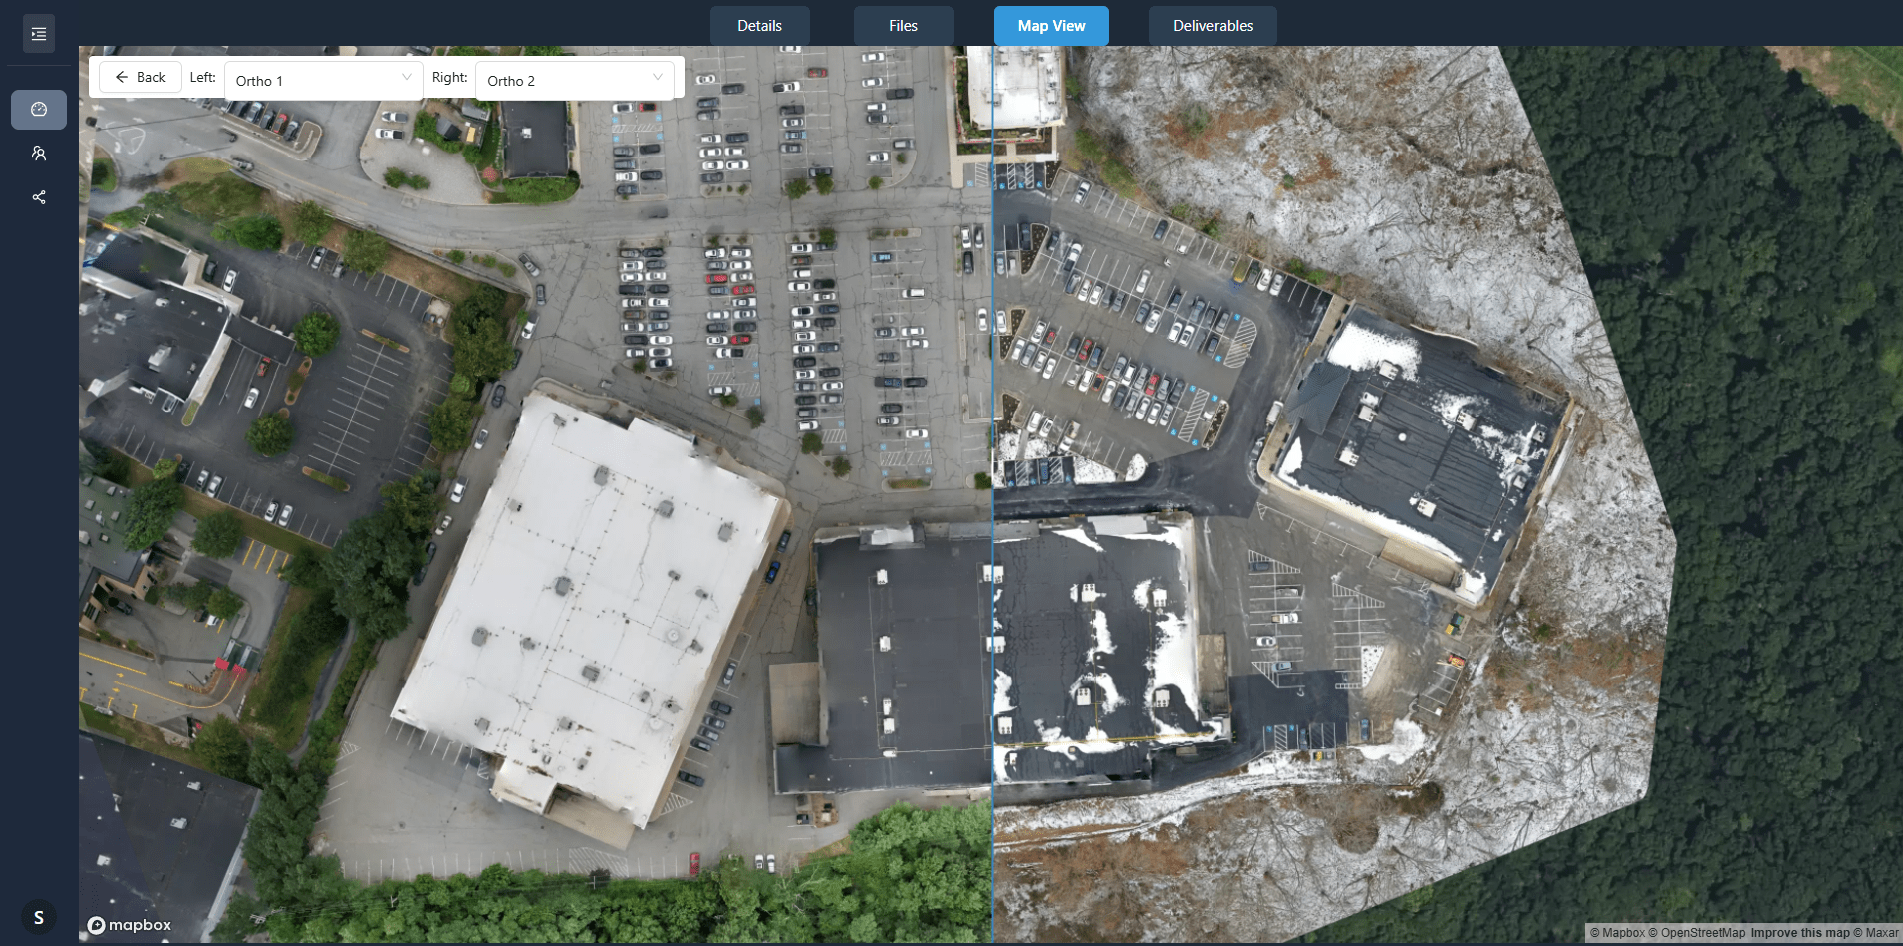
Using the DSM, the software projects each raw photo onto a flat plane, correcting for perspective and terrain. This produces a set of orthorectified images that all align to the same coordinate system. The final step is blending them into a single seamless orthomosaic.
Blending algorithms vary. Some use average blending, which can produce a washed-out look. Others use more sophisticated methods like multi-band blending or feathering. The choice affects how well the seams between images disappear. Check the edges of the mosaic for ghosting or double images, especially over moving objects like cars or rippling water.
Step 7: Export and deliver the orthomosaic
Export the orthomosaic in a format your client or workflow requires. GeoTIFF is the most common choice because it preserves the coordinate system and can be opened in GIS software. For web viewing, a tiled format like MBTiles or a cloud-optimised GeoTIFF may be better.
Check the file size. A large orthomosaic can be hundreds of megabytes or even gigabytes. If you are delivering through a portal, the platform should handle large files gracefully. For instance, a platform like nationaldroneservices.net is built for processing and delivering aerial imagery through client portals, so it can manage these outputs without issues.
Also include the point cloud and DSM if the client needs them for further analysis. The drone point cloud itself can be useful for volume calculations, line-of-sight studies, or 3D modeling.
Common pitfalls and how to avoid them
Poor overlap is the number one cause of failed orthomosaics. Always check your flight plan before heading out. If the area has tall objects, increase the side overlap to 70 percent or more.
Inconsistent lighting is another issue. Flights on overcast days produce even shadows and better color matching. If you must fly on a sunny day, try to do it when the sun is high to minimise long shadows.
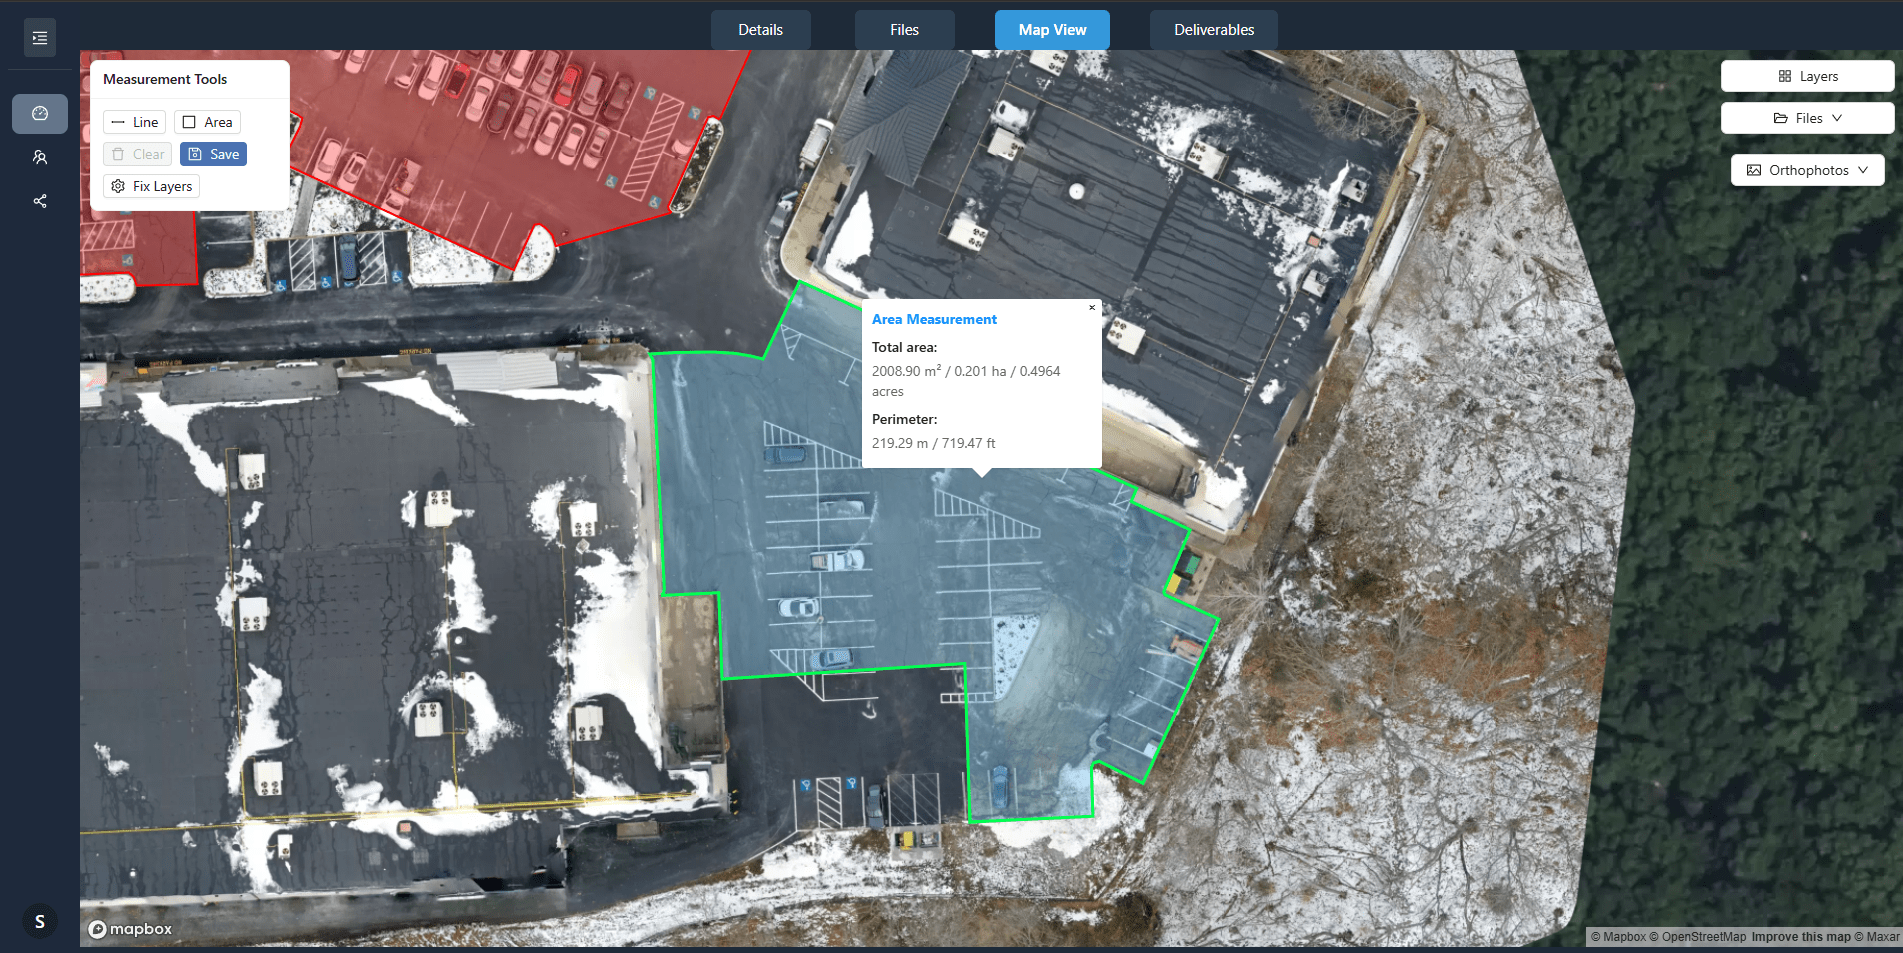
Finally, do not skip the georeferencing check. A drone point cloud that is misaligned by even a few meters can make the orthomosaic useless for surveying. Use ground control points if you need absolute accuracy. Platforms like nationaldroneservices.net help with organising and comparing outputs, making it easier to spot alignment errors early.
Putting it all together
Turning raw drone photos into an orthomosaic is a multi-step process that blends photography, photogrammetry, and GIS. Each step builds on the previous one. Rushing the alignment or skipping the point cloud refinement will produce a mosaic with visible seams or positional errors. Take your time, check your data at each stage, and use tools that fit your workflow. With practice, you can produce orthomosaics that are accurate enough for mapping, inspection, and analysis.